

How to Use a Laser Level for Hanging Pictures — All the relevant information you wish to know is contained herein 2
Is a laser level suitable for hanging pictures? What’s the best way to hang pictures?
When it comes to decorating your walls, you might ask: can a tool like a laser level really help when you’re going to hang pictures? In short: yes — a laser level for hanging pictures can be a very good aid. It helps make sure your frames are straight, aligned and consistent. But does that mean it’s the only or best way? Let’s discuss.
First: why use a laser level? Traditional methods involve measuring, marking with pencil, eyeballing if things are straight, maybe using a bubble level. That works, but there’s room for error. A laser level projects a straight, visible line on the wall — so you can mark multiple points, make sure your pictures hang in a straight line, horizontally (or vertically) with ease. For instance, a guide says: “Select your space … turn on your laser level … mark the starting point … align the laser … measure and mark picture locations … double-check measurements … install hangers or nails.” That shows the laser level works reliably.
Second: what’s the best way to hang pictures? Beyond using a laser level, there are good general practices:
- Plan your layout in advance (how many pictures, spacing, relation to furniture)
- Choose an appropriate height and alignment so the picture looks “right” to the viewer (not too high, not too low)
- Use good hanging hardware appropriate for the wall type and picture weight
- Make sure things are level — nothing throws off a room more than crooked frames
- Consider spacing, grouping and relation to other elements in the room (furniture, wall color, lighting).
So yes — a laser level can make the process much smoother. But it’s one tool in the broader method of hanging pictures well.
How to use a laser level to hang pictures? Should pictures hang eye‐level? What is the best height? What is the “golden ratio” of picture hanging? How to level during hanging? What not to do when hanging pictures?
Now let’s walk step-by-step on how you use a laser level for hanging pictures, talk about height and ratio, then highlight mistakes to avoid.
How to use a laser level:
- Choose a flat, stable surface or tripod and set up your laser level close to the wall you’ll hang pictures on. Ensure the laser beam is visible and stable.
- Turn on the laser and let it self‐level or manually level it (depending on model). Project the beam at the approximate height your pictures will hang.
- Use the beam to mark reference points on the wall. For example, mark where the top (or center) of the frames will align. The laser line gives you a visual guide.
- For each picture, measure its hanging hardware (wire, D-rings, etc) and adjust your mark so that when the picture is hung, its center or top aligns with the laser line (or desired height). One gallery guide explains the formula: measure artwork’s centre, measure from top to hanger, then mark accordingly.
- Hammer in hooks or anchors at the marked spots. Use the laser line one final time to check alignment across all pictures (especially if you’re hanging multiple frames).
- Hang your pictures and step back to review: are they level, aligned, proportionate? Adjust if necessary.
Should the picture hang at eye level? What is the best height?
Yes — typically you want the picture hung so that the viewer can look at it without tilting up or down too much. A commonly quoted rule is the “57-inch rule” (or roughly 145 cm) from the floor to the centre of the artwork. Experts say this approximates average eye level.
Examples:
- The centre of the picture (not the top or bottom) should be about 57 inches (≈145 cm) from the floor.
- If you hang above furniture (sofa, console table etc), you might adjust to place the bottom edge 6-12 inches above the furniture top, rather than strictly 57 inches.
So the “best height” depends on context: if on a plain wall, use ~57” centre is a good starting point; if above furniture or in a special arrangement, adjust accordingly.
What is the “golden ratio” for hanging pictures (or best height)?
The “golden ratio” in this context is more like a guideline than a strict mathematical golden ratio (1.618…). In interior design for hanging art, one good guideline is the 2/3 rule: when hanging pictures above furniture, the width of the artwork (or grouping) should be about two‐thirds the width of the furniture piece.
For instance: if your sofa is 90 inches wide, your artwork should span about 60 inches wide (2/3 of 90). This gives good balance.
Another guideline: ensure your picture or grouping has a visual ratio of roughly 2/3 the size of the wall space or furniture below, so it doesn’t look too small or too large.
When you’re using a laser level for hanging pictures, the “level” part simply means making sure your frames line up with a straight horizontal or vertical line — so nothing ends up looking crooked. The “golden ratio” isn’t about leveling at all; it’s more about keeping the right balance and spacing between your pictures so the whole wall looks pleasing to the eye.
How to level during hanging?
- Keep the laser level turned on as you hang. The projected line ensures each hook or nail aligns horizontally.
- After each picture is hung, look at the line and make sure the top edges of frames align with the beam (or are equally spaced relative to the beam).
- If grouping multiple frames, treat them as one single “unit” for leveling. Once the top (or centre) is level, individual inner spacing can be uniform.
- Use a bubble level or phone level app as backup if your laser line is faint.
- Double-check after you step back: is one frame crooked? Sometimes the wire on the back shifts; adjust accordingly.
What you should not do when hanging pictures:
- Don’t hang too high: if the picture is well above eye level, it may look disconnected.
- Don’t rely only on “eyeballing” without measuring or using a level — you risk crooked frames or uneven spacing.
- Don’t hang very heavy frames on weak hooks or anchors — risk damage to wall or frame.
- Don’t ignore the surrounding furniture or wall space — improper spacing can make your picture feel “floating” or ill‐placed.
- Don’t skip the final step of stepping back and reviewing the result.
- Don’t ignore wall type: drywall, plaster, brick all need appropriate anchors.
Using a laser level helps avoid many of these missteps.
What is the 2/3 rule for hanging pictures? What is the 57-inch rule? What is the best way to avoid wall damage when hanging pictures?
Great — let’s dig into these two specific rules and then talk about how to hang pictures without damaging walls.
What is the 2/3 rule for hanging pictures?
As mentioned, the 2/3 rule means your artwork (or a grouping of artworks) should roughly span two-thirds the width of the furniture beneath it, or otherwise relate proportionally to the space. For example:
- If your sofa is 60 inches wide, then artwork width ~40 inches gives a pleasing visual ratio.
- Another description: “Your artwork should be at least 2/3 of the size of the item you are placing it next to.”
So this rule helps with scale: if the art is too small compared to the furniture, it will look lost; too big and it overwhelms.
What is the 57-inch rule?
The 57-inch rule states that the centre of your piece of artwork should be about 57 inches from the floor (≈145 cm) — roughly at average eye level.
Details:
- It’s about the centre of the art, not the top or bottom.
- This height is a good starting point for standard rooms and normal ceilings.
- When circumstances change — e.g., if there is furniture beneath, or very high ceilings — you adjust accordingly. For example, when hanging above a sofa, you might position the bottom edge 6-12 inches above the sofa rather than strictly centre at 57″.
So the 57-inch rule is about ensuring the picture is at a comfortable viewing height.
How to avoid damaging the wall when hanging pictures? Best methods:
- Use appropriate hangers and anchors: For drywall, use picture-hooks, anchors or toggle bolts depending on weight. For plaster, pre-drill. For brick or masonry, proper masonry anchors are required.
- If you want to avoid holes altogether, consider adhesive strips or hanging systems rated for your frame’s weight.
- Use the laser level to minimize trial-and-error holes: by marking carefully before drilling, you reduce extra holes from wrong placement.
- Avoid drilling or hammering into electrical/plumbing zones: use a stud-finder or wall scanner if needed.
- When using nails/hooks, angle downward slightly so the frame stays secure and reduces stress on the hook and wall.
- Spread heavy frames across two hooks so weight is balanced.
- Use a protective backing or felt pads on frame corners to reduce abrasion on the wall.
- After removing frames, repair holes cleanly: fill, sand, repaint so you preserve wall integrity.
By using a laser level for hanging pictures, you get the precision needed to minimize mistakes, reduce re-holes, and achieve a clean result.
Which is better: red laser level or green laser level? Can you use a phone as a level? Should all pictures in a room be hung at the same height? What is the hanging height formula?
In this section we cover equipment choice, alternative tools, consistency in picture height, and actually a handy formula for hanging height.
Red vs. Green laser level — which is better?
- Red laser levels are common, generally less expensive and fine for many indoor tasks. However their beam may be less visible in bright light or over longer distances.
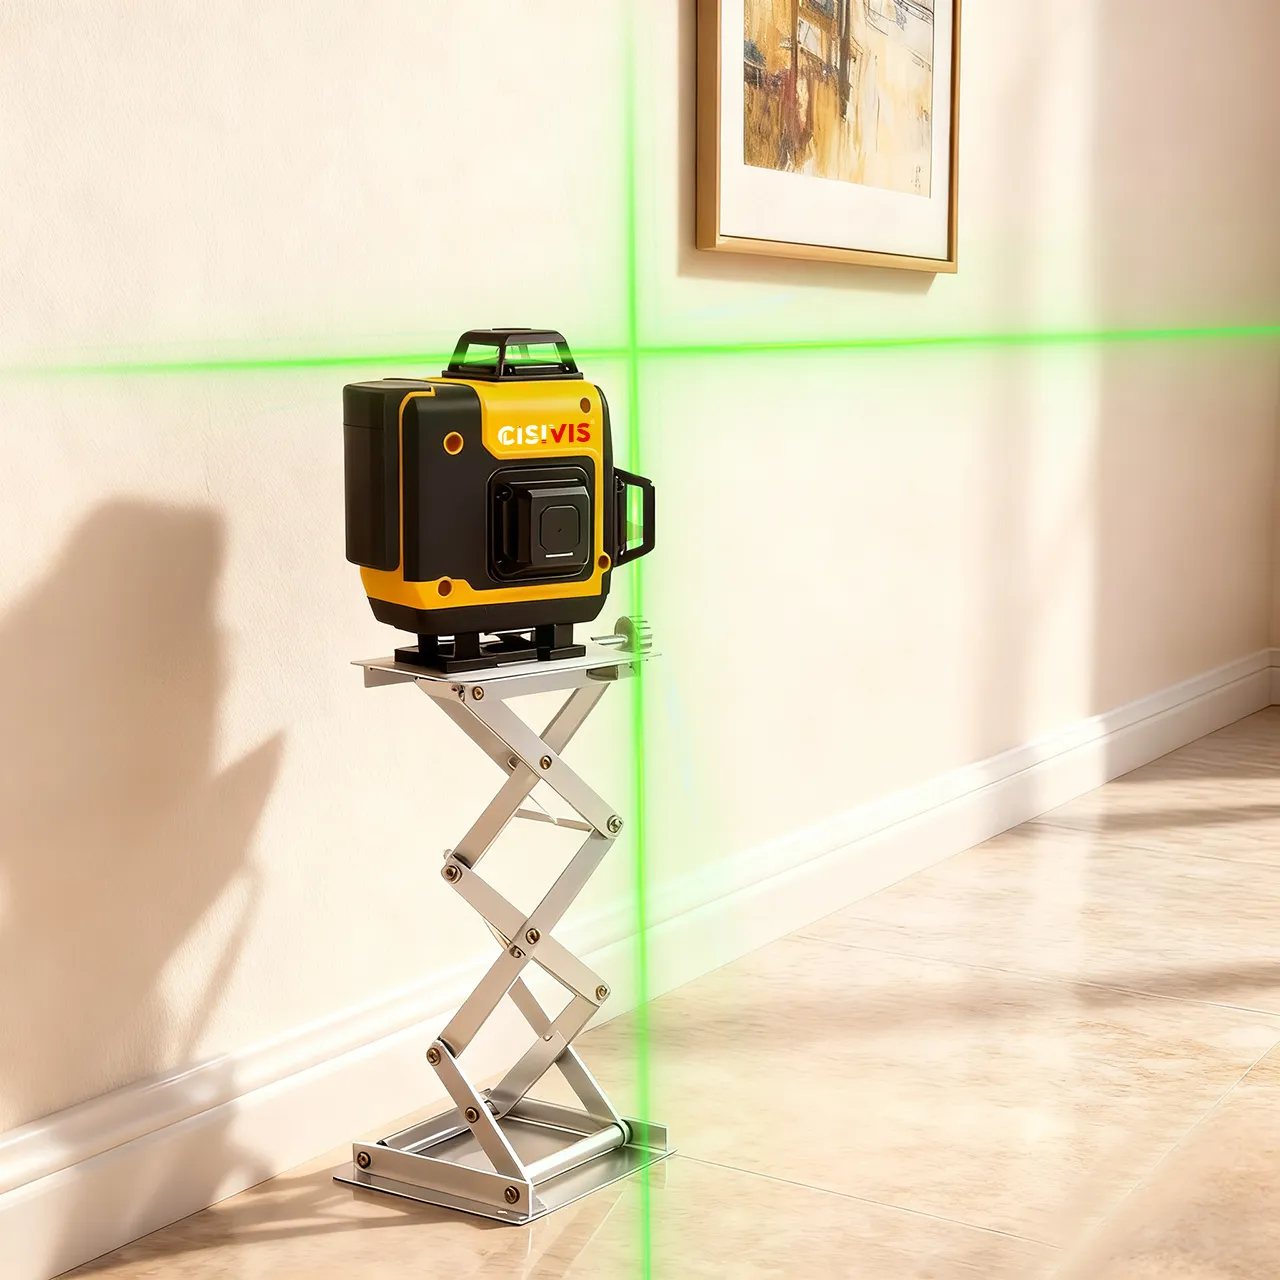
- Green laser levels have a brighter beam that is more visible in many lighting conditions, including daylight or larger rooms. One DIY blog says: “The best laser level to get today for the average homeowner/diyer … will be a Green Cross Line Laser Level.”
So for hanging pictures indoors, either can work — if you’re in a brightly lit room or need to throw the line farther, green may offer an advantage. Budget, range, liability of ambient light etc should inform your choice.
Can you use a phone as a level?
Yes — many smartphones have built-in “spirit level” / “bubble level” apps which can help you check straightness of a frame horizontally. But:
- A phone level gives you a small numeric or bubble reading; it doesn’t project a long straight reference line across the wall like a laser.
- For single picture frames this might suffice; for multiple frames needing perfect alignment across a wall, a laser level gives a big visual advantage.
- So yes, you can use a phone as a level, especially for simple jobs, but if you’re doing a gallery wall or want speed and precision, a dedicated laser level (red or green) is better.
Should all pictures in a room be hung at the same height?
Generally yes — for visual harmony, if you’re hanging multiple pictures in the same room or on the same wall, aligning their centers or tops to a common height helps. It gives continuity. If you use the 57-inch rule consistently, things look cohesive.
However: if pictures are in different rooms, or at different contexts (above furniture vs alone), then slight variation is fine. The key is that within a grouping or wall, you maintain level and consistent spacing. Also, if furniture heights differ, the bottom edge may differ, but alignment (center or top) should maintain consistency.
What is the hanging height formula?
Here is a simple formula many decorators use:
Hanging Point Height = Desired Centre Height (e.g., 57″) + (Half of Art’s Height) − (Distance from Top of Art to Hanging Hardware)
From one source: “Divide the height of the frame by two; subtract the distance from the top of the frame to the hanging hardware; add this to 57 (or whatever your centre height).”
Example: Suppose your piece is 24″ high, the hardware sits 4″ down from the top edge, so: Half height = 12″; 12″ – 4″ = 8″; then 57″ + 8″ = 65″. Therefore you place your nail/hook at ~65″ from the floor.
Having a formula avoids guesswork, ensures your art’s centre line lands where you want.
Summary
In summary:
- Using a laser level for hanging pictures is a smart, effective method to get straight, professionally aligned frames with less effort and fewer mistakes.
- The best approach combines the right tool (laser level), good planning (layout, height, spacing), correct hanging hardware and awareness of your space (walls, furniture, lighting).
- Apply the 57-inch rule (centre of art ≈57″ from floor) as a starting point, use the 2/3 rule for width/scale above furniture, and use the formula to calculate exact hook placement.
- Choose your equipment wisely: green lasers offer better visibility; a phone level can work but has limitations.
- Avoid common pitfalls: hanging too high, neglecting spacing or alignment, using improper hardware, damaging walls through trial and error. A laser level helps reduce such risks.
- For best results: plan your picture wall or grouping, set up your laser line, mark carefully, install hooks, hang picture(s), then step back and admire your work. Your space will feel polished, intentional and visually balanced.
Looking for a dependable laser level for hanging pictures that delivers professional accuracy? Cisivis has you covered. Our laser levels are engineered for both DIY users and trade professionals — with OEM/ODM support, flexible configurations, and top-tier precision. Choose from models with a digital battery display or simplified designs based on your market needs. Partner with Cisivis to bring reliable, high-performance laser leveling tools to your customers and elevate every project’s finishing touch.
Happy hanging — may your pictures line up straight, your walls look great and your space feel even more like home!


But a smiling visitant here to share the love (:, btw outstanding design.
I think this is one of the most vital info for me. And i am glad reading your article. But should remark on some general things, The site style is great, the articles is really nice : D. Good job, cheers