How to Change Circular Saw Blades Leave a comment
You must know how to change the circular saw blade. It is key to your tool’s efficiency and safety. Whether you’re a pro woodworker or a DIYer, you must know how to replace the blade. It will improve performance, ensure precise cuts, and extend the tool’s life. This guide will teach you all about circular saw blades. You will learn how to tell when to change them. It will also explain the safe, efficient steps to change them.
Understanding Circular Saw Blades
Circular saw blades come in many types. Each type offers benefits for specific cutting needs. Understanding these types will help you select the best blade for the job, including:
Crosscut blade
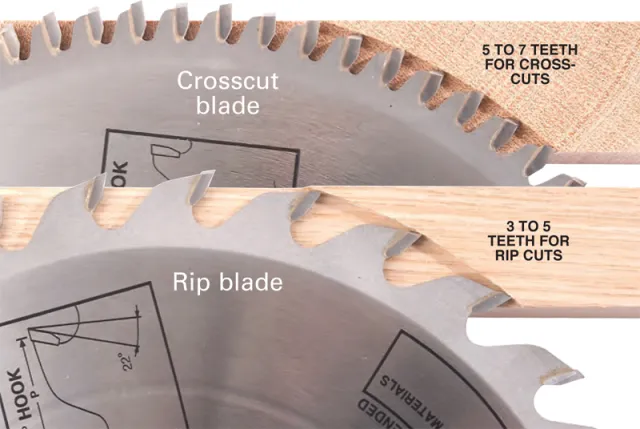
It is for making smooth cuts across the wood grain. It should tear or splinter the wood as little as possible. Crosscut blades have smaller teeth for smooth, clean cuts. They make more individual cuts as they move through the material.
Rip Cut Blade
Unlike a crosscut blade, users use the rip cut blade for cutting along the grain, or making rip cuts. The design of a ripping blade angles and shapes its teeth to act like chisels. It has fewer teeth. This helps the blade rip through the material quickly without binding.
Dado blade
Commonly used with a table saw or radial arm saw, dado blades are used to cut precise grooves or dados in wood.
Carbide-Tipped Blade
These blades have teeth coated with carbide. They are more durable. They can cut tough materials, like metal, plastic, and hardwood, without dulling.

Key Signs It’s Time to Replace Your Blade
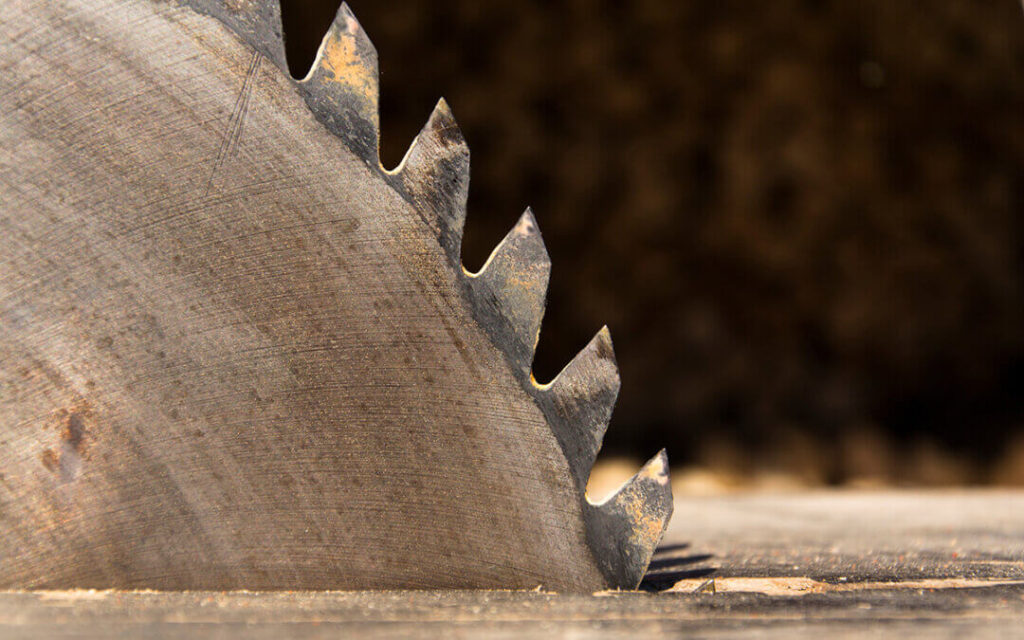
It’s vital to know when to replace your blade. It keeps your work quality and efficiency high. One of the first signs is physical damage. If you see chips, dents, or cracks on the blade edge, it’s no longer reliable for precise cuts.
Rust is another red flag. It can harm the blade’s sharpness and durability. If you’re struggling to make clean cuts and need to make many passes over the same area,
Dullness is likely the culprit. This affects performance, especially in harder materials. Excessive vibration while cutting is another sign. It indicates uneven wear. This can cause inaccurate cuts and inefficiency.
Watch for loud noises like grinding or squealing. They mean the blade is facing too much resistance. It signals wear and tear. If your cuts become inaccurate or inconsistent, the blade might have lost its edge.
Burn marks on the blade, especially in power tools, state excessive friction. This further damages the blade.
Finally, if you find it harder to push through materials, the blade’s sharpness has faded. Knowing these signs will help you cut better. It will also avoid damage to your tools.


Preparing to Change the Circular Saw Blade
Before you start changing the circular saw blade, you need to prepare. Here’s what you will need:
Disconnecting the Power Source
- For corded saws: Unplug the saw to avoid accidental activation.
- For Cordless Saws: Remove the battery pack. This will power it down before you start working.
Gathering Necessary Tools
To safely and efficiently change your circular saw blade, gather the following tools:
- Blade Wrench: This tool is used to loosen and tighten the arbor nut.
- Clean Cloth: A clean cloth will help you wipe off any debris or dust inside the saw during the blade replacement.
- New Circular Saw Blade: Ensure the new blade is the right size and type for your saw and cutting tasks.
- Work Gloves: They protect your hands from sharp edges and metal filings during the job.
Selecting the Right Blade
When choosing a new circular saw blade, several factors need to be considered:
- Arbor Size: Ensure the new blade’s arbor size fits your saw’s spindle.
- Blade Diameter: Measure the diameter of your old blade and match it with the new one. Common sizes are 7-1/4 inches or 6-1/2 inches.
- Maximum RPM Rating: The new blade must handle the saw’s max RPM. This is to ensure safety and proper function.
- Tooth Count and Type: Depending on the material, you may need a blade with a different tooth count. A high tooth count is good for fine, smooth cuts, while fewer teeth are better for rough cuts
Removing a circular saw blade.
Locate the Arbor Lock
The arbor lock is a safety feature. It prevents the saw blade from rotating while you remove it. Press and hold the spindle-lock button on your saw to secure the blade in place. If you have trouble locating it, consult your saw’s manual for guidance.
Loosen the Arbor Nut
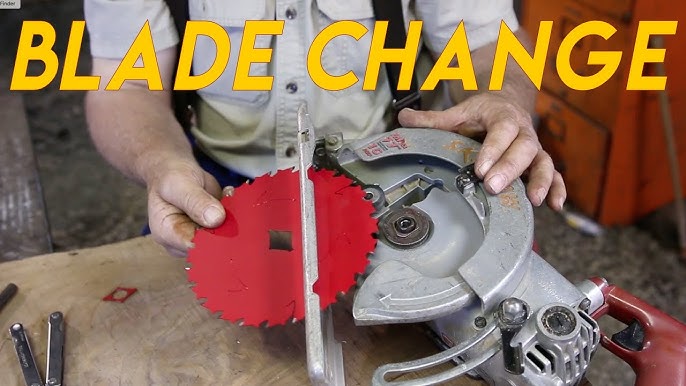
Use the blade wrench to unscrew the arbor nut in a counterclockwise direction. Be sure to remove the washers and collars that may be attached to the nut. Once the nut is removed, carefully take out the washers and collars. This will prepare you to install the new blade.
Remove the Old Blade
Once the arbor nut and washers are off, gently lift the old blade from the saw. Be cautious of any sharp edges and debris as you remove the blade from the saw housing.
Installing a New Saw Blade
Clean the inside of the saw’s blade guard
Before inserting the new blade, clean the inside of the saw’s blade guard to remove any dust or debris. This will help ensure the new blade operates smoothly and reduces friction.
Position the New Blade
Place the new blade onto the saw’s arbor, ensuring the teeth are facing in the direction of rotation. Many saws have an arrow on the blade guard. It shows the correct direction for blade placement.
Ensure the blade sits flush against the inner washer or flange. The blade should fit securely without any wobbling.
Secure the Blade
Once the new blade is in place, replace the outer washer and arbor nut. Engage the arbor lock as you did when removing the old blade to keep the new blade in place. Use the blade wrench to tighten the arbor nut firmly.
While tightening, make sure the nut is secure but don’t over-tighten it. Excessive force can damage the nut or the saw. This can make future blade changes difficult and unsafe.
Test the Blade
Spin the blade by hand to ensure it is securely in place and does not wobble. If the blade seems loose or uneven, remove it and try again. Once it spins freely and securely, you can start cutting with your new circular saw blade
FAQs
- Where is the arbor lock on a circular saw?
The arbor lock is typically located near the blade. You’ll find a button or lever that locks the saw’s spindle in place to prevent the blade from spinning.
- When changing a circular saw blade, remember to?
Always ensure the blade faces the correct direction. The teeth should point up toward the front of the saw. The printed side of the blade should face outward.
- Left-Blade vs. Right-Blade Saws?
Left-blade saws have the blade on the left and the motor on the right. Right-blade saws are the opposite. Blade-changing steps are the same for both types.
- Can I change a circular saw blade without tools?
No, you’ll need a blade wrench to ensure the safe removal and replacement of the saw blade.
- Why does my circular saw blade keep coming loose?
A loose blade could indicate that the arbor nut wasn’t tightened properly. Double-check the blade’s security and ensure the nut is tight but not overtightened.
- What is the hole in a circular saw blade called?
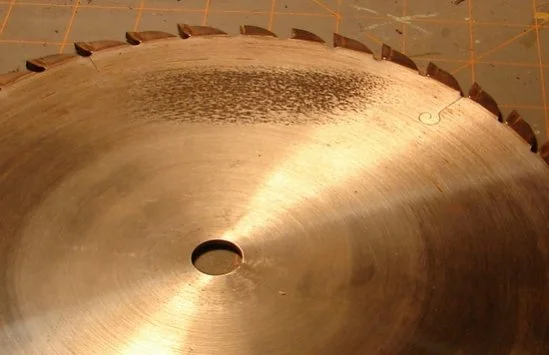
The hole in the center of a saw blade is called the arbor hole. It fits onto the saw’s spindle.
- How to remove a circular saw blade without a key?
If you’ve lost the key, use a wrench or a suitable tool to grip the blade firmly while loosening the arbor nut.
- Why does my circular saw kick back at the end of a cut?
Kickback often occurs when you pinch the blade or apply uneven pressure. Secure your material and always cut at a steady pace.
- How tight should I tighten my circular saw blade?
Tighten the blade securely but not too tight. Over-tightening can damage the blade or saw. The blade should not be able to wiggle.
- How do you remove the pitch from a circular saw blade?
Use a blade cleaner or solvent to remove pitch buildup from the blade. A small brush can also help to clean between the teeth.
- How do I know if the new blade fits my saw?
Ensure the new blade’s diameter and arbor size match your saw’s specifications. Check the RPM rating and the blade type for compatibility.
- What if the nut on my saw is stuck?
If the nut is stuck, apply penetrating oil and let it sit for a few minutes. Use a larger wrench or a breaker bar for more leverage.
Warnings
Before you start, always ensure that you unplug your saw or disconnect the battery. These precautions will ensure a safe, efficient, and trouble-free blade change. Always wear safety gear, including gloves and eye protection, while changing the blade.
By following these steps and tips, you’ll keep your circular saw blade in top shape. This will keep your saw performing its best.


