

How to Replace String Trimmer Line Leave a comment
Replacing the string trimmer line is vital. It keeps your trimmer at its best. With the right tools and guidance, this process is simple and efficient. It will ensure your trimmer cuts precisely every time.
1. Replace String Trimmer Line Tools and Materials Needed
1.1 Prepare the Right Line
First, select a replacement line that matches your trimmer’s model and brand. The right line ensures compatibility and optimal performance. Measure and cut the line to the recommended length provided in the trimmer’s manual. Check that the diameter matches your tool’s requirements. An incorrect size can affect cutting efficiency.
1.2 Safety Gear
Always prioritize safety during maintenance. Wear gloves to protect your hands from sharp edges and goggles to shield your eyes from debris. These simple precautions help you work with confidence.
2. Check the manual
Your trimmer’s user manual has details on replacing the line for your model. It eliminates guesswork and streamlines the process. So, refer to it to ensure you follow the exact instructions for your trimmer.
3. Turn off the trimmer and disconnect power
Before beginning any maintenance, turn off your string trimmer. For battery models, remove the battery. For corded trimmers, unplug them. This step prevents accidents and keeps you safe throughout the process.
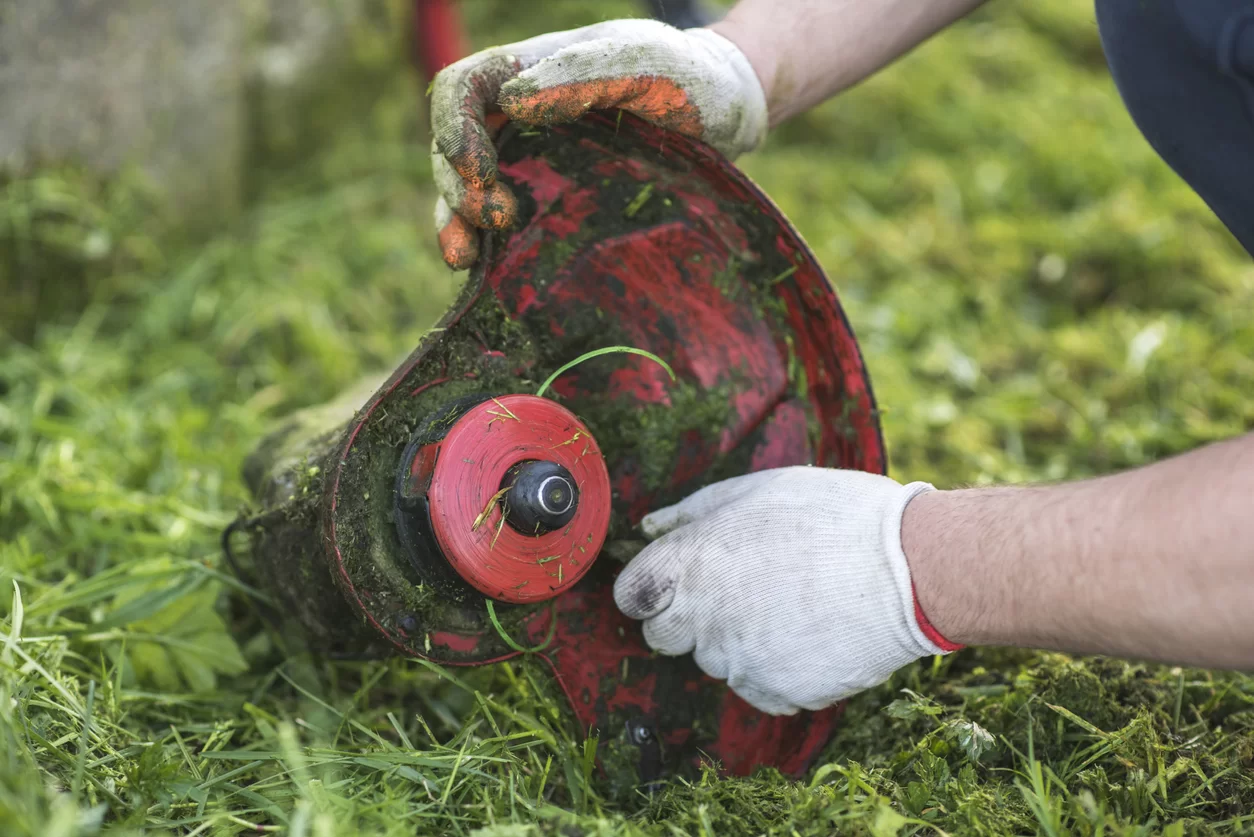
4. Disassemble the trimmer head
Locate the trimmer head, which houses the spool. Disassembly methods vary by model. They usually require aligning arrows, pressing buttons, or twisting parts of the head to release it. Follow your manual’s instructions to ensure proper removal without damaging the trimmer head.
5. Feed the Line Through the Eyelets
After disassembling the head, find the small holes for the line. Carefully feed the line through these openings. Ensure it is properly positioned for winding.
6. Wind the Line Around the Spool
Find the directional arrows on the spool to guide the winding process. Follow these arrows closely to wrap the line evenly and securely around the spool. Proper winding prevents tangling and ensures smooth operation. Ensure there is no overlapping or slack during this step.
7. Reassemble the Trimmer Head
Once the spool is wound, secure the line in the designated notches to hold it in place. Reattach the trimmer head, aligning all parts carefully to ensure a tight fit. Double-check that the line feeds through the eyelets correctly.
8. Test the Trimmer
Reconnect the power source and power on the trimmer. Test it by running it briefly to confirm the line feeds smoothly and cuts efficiently. If any issues arise, revisit the steps to ensure everything is correctly assembled.
Frequently Asked Questions
How Often Should I Replace the Trimmer Line?
The frequency depends on usage and the materials being trimmed. Replace the line if it frays, is too short, or is dull. This will keep it performing at its best.
Can I Use Universal Trimmer Lines?
Universal lines are compatible with many models but may not suit all trimmers. Check your trimmer’s specifications to ensure compatibility and prevent operational issues.
What Causes Trimmer Lines to Break Frequently?
Trimmer lines often break from contact with hard surfaces, like rocks or concrete. They can also break from overloading the trimmer or using an incompatible line. Ensuring proper use and selecting the correct line can reduce breakage.
Tips for Preventing These Problems:
- Avoid trimming near hard surfaces.
- Use the correct line diameter.
- Wind the line properly on the spool.
- Ensure the trimmer head is assembled correctly.
Trimmer Line Not Feeding Correctly
If the line doesn’t feed, check for: tangles on the spool, improperly wound lines, or debris in the eyelets. Rewinding the line or clearing blockages can resolve this issue.
Uneven or Broken Lines During Operation
Uneven lines usually indicate improper winding or an incompatible line. Broken lines may result from trimming thick materials or using an unsuitable diameter. Always follow the manufacturer’s guidelines for the best results.
Why Choose CISIVIS String Trimmers and Accessories?
CISIVIS string trimmers and replacement lines offer unmatched durability, precision, and reliability. Our products are for pros and DIYers. They can handle tough trimming tasks with ease. Trust CISIVIS for tools and accessories. They boost your efficiency and ensure perfect results. Check out our string trimmers and accessories. They perform exceptionally, and you can rely on them.
