

Step-by-Step Guide to Using a Cordless Drill 6
Cordless drills have revolutionized how tasks are completed in homes and workplaces. Their battery-powered design allows users to work freely without the hassle of tangled cords. Mastering cordless drill usage is essential for anyone looking to enhance their DIY skills or improve efficiency in professional maintenance tasks.
The growing demand for skilled tool usage highlights their importance. For instance:
- 38% of maintenance assets rely on preventive programs, improving efficiency for electricians.
- 31% of businesses outsource operations due to a lack of skilled professionals.
- Over half of facility managers report insufficient staff skills, emphasizing the need for proficiency with tools like cordless drills.
With proper knowledge, users can handle projects safely and effectively, avoiding costly mistakes.
Key Takeaways
- Cordless drills run on batteries, letting you move around easily. They are great for many tasks.
- Pick the correct drill bit for your material. This helps get neat results and avoids damage to the tool or material.
- Change the speed and torque settings for each task. Use low speed for screws and high speed for hard materials.
- Drill small pilot holes first. This helps you be accurate and stops damage, especially in wood or soft materials.
- Hold your material steady with clamps or a vice. This keeps it from moving and makes drilling safer and more exact.
- Clean and check your cordless drill often. This keeps it working well and lasting longer.
- Wear safety gear like goggles and gloves. This helps protect you from getting hurt while drilling.
- Keep your drill and batteries stored safely. This stops damage and keeps them ready to use later.
Understanding Cordless Drill Usage
Key Features of Cordless Drills
Battery-powered design for flexibility and convenience
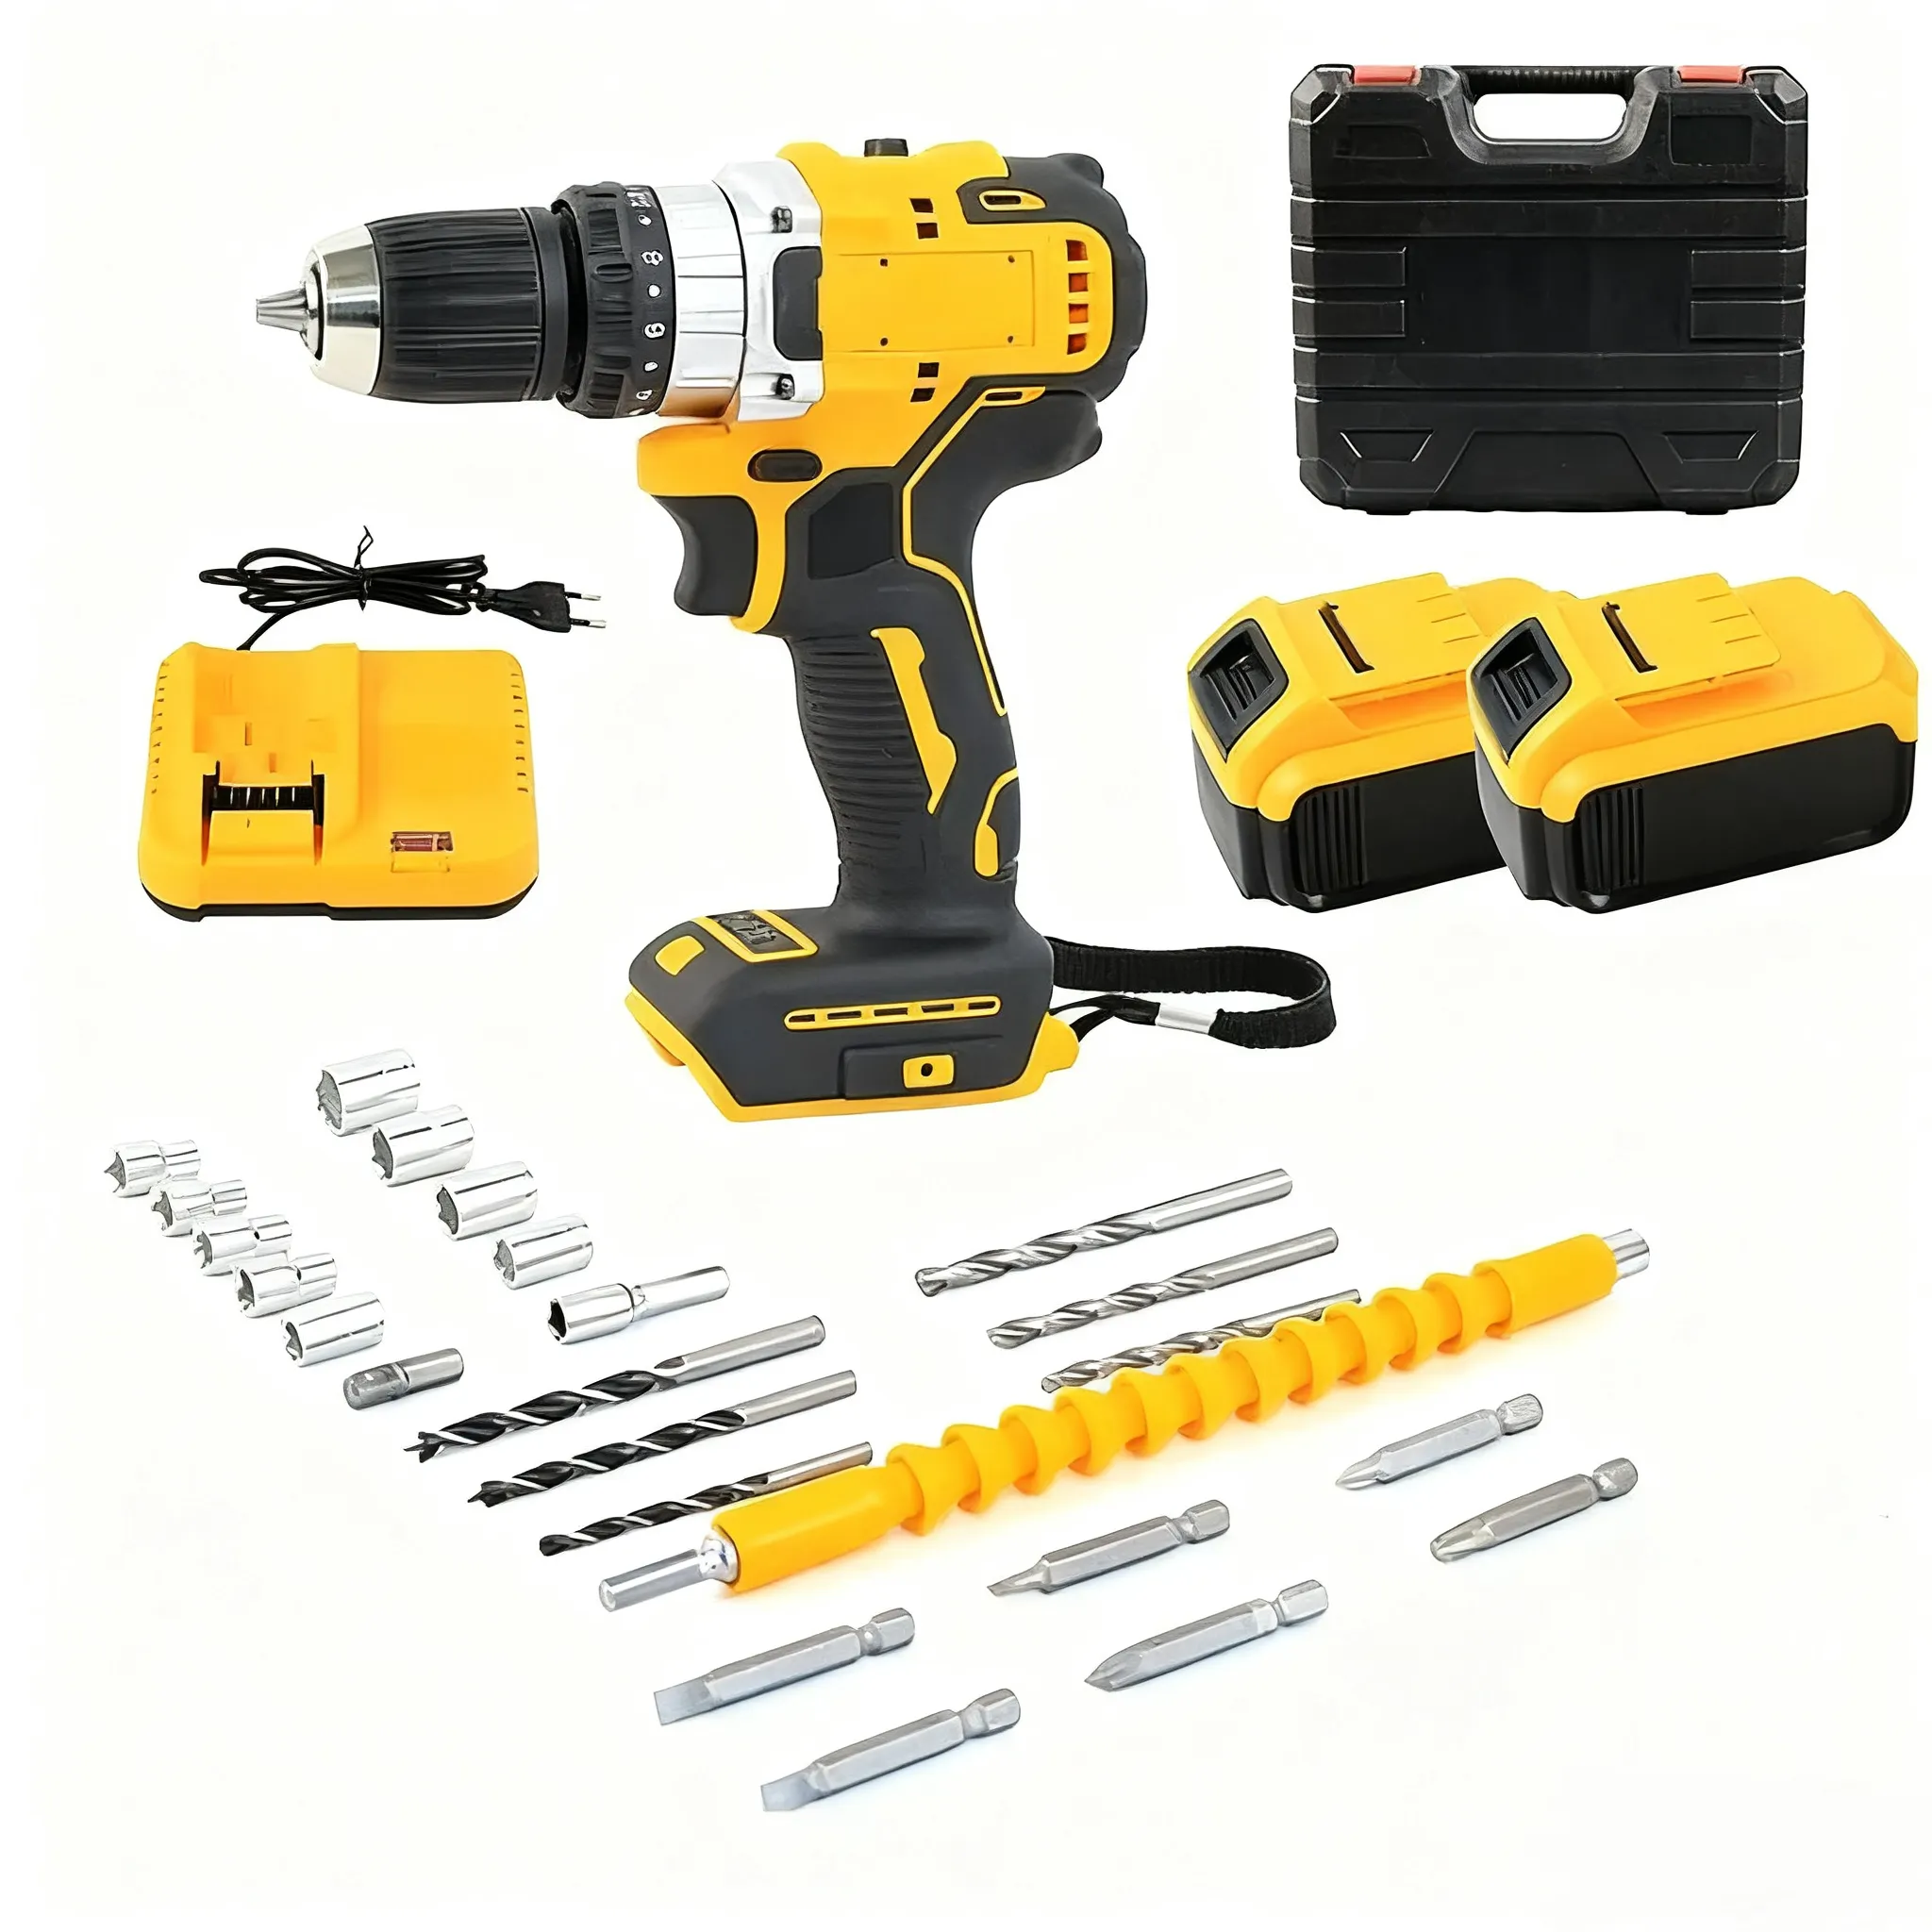
Cordless drills operate on rechargeable batteries, offering unmatched flexibility. Users can work in tight spaces or remote locations without worrying about power outlets or tangled cords. Modern cordless drills often feature lithium-ion batteries, which are lightweight and provide longer runtimes compared to older nickel-cadmium batteries. This design makes them ideal for both DIY enthusiasts and professionals who require mobility during tasks.
Common chuck sizes and their applications
The chuck size determines the drill bit’s compatibility and the type of tasks the drill can handle. The most common sizes are 3/8-inch and 1/2-inch chucks. A 3/8-inch chuck is suitable for light to medium-duty tasks, such as drilling into wood or plastic. In contrast, a 1/2-inch chuck is better for heavy-duty applications, including drilling into metal or masonry. Selecting the right chuck size ensures optimal performance and prevents damage to the drill or material.
Tip: Always check the chuck size before purchasing a cordless drill to ensure it meets your project requirements.
Mechanics of Cordless Drills
Battery voltage ranges and the ideal range for performance
Cordless drills come with varying battery voltage levels, typically ranging from 12V to 20V. Lower voltage drills (12V) are lightweight and suitable for small household tasks. Higher voltage models (18V-20V) deliver more power, making them ideal for demanding projects like construction or heavy-duty repairs. Choosing the right voltage depends on the nature of the tasks and the user’s experience level.
Torque settings and their role in precision
Torque settings allow users to control the rotational force of the drill. This feature is essential for precision, especially when working with delicate materials. For example, lower torque settings are ideal for driving screws into softwood, while higher settings are necessary for drilling into harder materials like metal. Understanding torque settings helps users avoid overdriving screws or damaging materials.
Speed and direction settings explained
Cordless drills typically offer variable speed settings, allowing users to adjust the RPM (rotations per minute) based on the task. Lower speeds are suitable for driving screws, while higher speeds are better for drilling holes. Direction settings, usually controlled by a switch, let users toggle between forward (drilling) and reverse (unscrewing) modes. These features enhance the drill’s versatility and make it easier to handle a variety of tasks.
Performance Insight: The effectiveness of a cordless drill depends on its performance metrics, such as UWO (Unit Watts Out) and torque. A drill rated at 280 UWO with a speed range of 0-350/0-1500 RPM demonstrates its ability to handle diverse applications efficiently.
| Source | Description |
|---|---|
| Cordless Drill Driver Market Report 2025 | Provides an exhaustive investigation of the cordless drill driver market at country and regional levels, analyzing industry trends in sales, revenue, and consumption. |
| Cordless Rechargeable Nail Drill Market Size, Market Trends, SWOT & Growth 2033 | Offers qualitative and quantitative data through various research methods, including expert interviews and surveys, to understand market dynamics. |
Note: When selecting a cordless drill, consider its voltage, torque, and speed settings to ensure it meets your specific needs.
Step-by-Step Guide to Cordless Drill Usage
Step 1: Select the Right Drill Bit
Overview of drill bit types and their applications
Choosing the correct drill bit is crucial for achieving clean and precise results. Drill bits come in various types, each designed for specific materials and tasks:
- Twist bits: Ideal for general-purpose drilling in wood, metal, and plastic.
- Spade bits: Best for creating large holes in wood.
- Masonry bits: Designed for drilling into concrete, brick, or stone.
- Forstner bits: Used for smooth, flat-bottomed holes in wood.
- Auger bits: Suitable for deep holes in wood.
Selecting the right bit ensures efficiency and prevents damage to both the material and the tool. For example, using a masonry bit on wood may result in splintering or uneven holes.
Tip: Always match the drill bit to the material for optimal performance and durability.
Importance of pilot holes for clean and precise drilling
Drilling pilot holes is a simple yet effective technique to improve accuracy. A pilot hole is a small, pre-drilled hole that guides the larger drill bit. This method reduces the risk of splitting wood or cracking other materials. It also ensures screws are driven straight and securely.
Statistical analysis shows that materials like chipboard and plywood exhibit significant differences in deflection when drilled. Chipboard, for instance, has five times the standard error compared to other materials. Using pilot holes minimizes these variations, resulting in cleaner and more precise drilling.
Step 2: Insert and Secure the Drill Bit
How to loosen and tighten the chuck
The chuck is the part of the drill that holds the bit in place. To insert a drill bit:
- Rotate the chuck counterclockwise to loosen it.
- Insert the drill bit into the chuck.
- Turn the chuck clockwise to tighten it securely.
Some cordless drills feature a keyless chuck, which allows users to tighten or loosen it by hand. Others may require a chuck key for this process. Ensuring the chuck is properly tightened prevents the bit from slipping during operation.
Ensuring the drill bit is centered and secure
A centered drill bit ensures stability and precision. After inserting the bit, check its alignment by spinning the chuck manually. If the bit wobbles, readjust it until it sits straight. A secure and centered bit reduces vibrations and improves the quality of the drilled hole.
Note: Misaligned bits can cause uneven holes and increase wear on the drill.
Step 3: Adjust Drill Settings
Speed settings for different tasks
Cordless drills offer variable speed settings to suit different applications. Lower speeds (0-500 RPM) are ideal for driving screws or drilling into soft materials like wood. Higher speeds (1000-2000 RPM) work better for harder materials such as metal or masonry. Adjusting the speed ensures better control and prevents overheating of the drill bit.
Direction settings for drilling and unscrewing
Most cordless drills include a direction switch to toggle between forward and reverse modes. Use the forward mode for drilling holes or driving screws. Switch to reverse mode to remove screws or back out a stuck drill bit. Understanding these settings enhances the versatility of cordless drill usage.
Torque settings for precision work
Torque settings control the rotational force applied by the drill. Lower torque is suitable for delicate tasks, such as assembling furniture. Higher torque is necessary for heavy-duty applications, like drilling into dense materials. Adjusting the torque prevents overdriving screws and protects the material from damage.
Pro Tip: Start with a lower torque setting and gradually increase it based on the task’s requirements.
Step 4: Prepare the Material
Securing the material with clamps or a vice
Stabilizing the material is essential for safe and accurate drilling. Loose materials can shift during operation, leading to uneven holes or potential injury. Use clamps or a vice to hold the material firmly in place. For flat surfaces, position the clamps on opposite sides to distribute pressure evenly. When working with irregularly shaped objects, a vice provides better grip and stability. Always ensure the material is secure before proceeding to drill.
Safety Tip: Avoid holding the material with your hands while drilling. This practice increases the risk of accidents.
Using scrap wood for cleaner edges
Placing a piece of scrap wood beneath the material helps prevent splintering and ensures cleaner edges. This technique is particularly useful when drilling through wood or thin materials. The scrap wood acts as a backing, supporting the material and reducing tear-out as the drill bit exits. For best results, align the scrap wood directly under the drilling point.
Marking holes accurately
Precision begins with accurate markings. Use a pencil or marker to indicate the exact location of each hole. For enhanced accuracy, consider using a center punch to create a small indentation at the marked spot. This indentation helps guide the drill bit and prevents it from slipping. Measuring tools like rulers or tape measures can assist in maintaining consistent spacing between holes.
Pro Tip: Double-check your measurements before drilling to avoid errors that could compromise the project.
Step 5: Drill the Hole
Positioning the drill bit perpendicular to the material
Proper alignment of the drill bit ensures clean and precise holes. Hold the drill so the bit is perpendicular to the material’s surface. Tilting the drill can result in angled holes, which may affect the fit of screws or fasteners. For added accuracy, use a drill guide or a square to maintain the correct angle.
Starting slow and increasing speed gradually
Begin drilling at a low speed to establish control and prevent the bit from wandering. Once the bit has penetrated the surface, gradually increase the speed to match the material’s requirements. This approach minimizes heat buildup and reduces wear on the drill bit.
| Performance Aspect | Description |
|---|---|
| Speed Modulation | Integrated choke operators designed for Managed Pressure Drilling can work with fast processing speeds and deliver quick, precise movements. |
| Pressure Control | The well control system can calculate a higher number of pressure changes with smaller steps, resulting in better pressure control within a wellbore. |
| Maintenance | The new MPD choke valve actuator eliminates maintenance while maintaining peak performance, improving speed, precision, and reliability. |
Applying constant pressure for clean holes
Apply steady, even pressure while drilling. Excessive force can damage the material or cause the drill bit to overheat. Conversely, insufficient pressure may result in incomplete holes. Let the drill do the work, and adjust the pressure based on the material’s density. For harder materials like metal, use a lubricant to reduce friction and improve drilling efficiency.
Note: Avoid forcing the drill through the material. This can lead to uneven holes and increased wear on the tool.
Step 6: Inspect the Drilled Hole
Checking compatibility with fasteners
After drilling, inspect the hole to ensure it meets the project’s requirements. Verify that the hole’s diameter matches the size of the fasteners or anchors being used. A properly sized hole ensures a secure fit and prevents structural issues.
Adjusting the hole size if necessary
If the hole is too small, use a larger drill bit to widen it. For oversized holes, consider using a filler material or an anchor to achieve a snug fit. In aerospace applications, the standard for drilled hole tolerance is H7, which allows a diameter variation of no more than 0.010 mm. Advanced drilling tools often achieve a CPK (process capability index) of 2.4, indicating high precision.
- Inspection equipment may include:
- A borescope for deeper hole inspections.
- Measuring devices for hole diameter and depth.
- Proof loading equipment to verify proper anchor settings.
Pro Tip: Regularly inspect your drill bits for wear or damage. Worn bits can compromise the quality of the drilled hole.
Step 7: Clean Up
Proper cleanup after using a cordless drill ensures the tool remains in good condition and ready for future use. This step also promotes safety and organization in the workspace.
Removing and storing the drill bit
Removing the drill bit correctly prevents damage to the tool and ensures safety. Follow these steps to remove and store the bit:
- Turn off the drill: Ensure the drill is powered off and the battery is removed to avoid accidental activation.
- Loosen the chuck: Rotate the chuck counterclockwise to release the drill bit. For keyless chucks, this can be done by hand. For keyed chucks, use the chuck key provided with the drill.
- Remove the bit: Gently pull the bit out of the chuck. Avoid using excessive force, as this could damage the bit or the chuck.
- Inspect the bit: Check for signs of wear or damage. Replace worn bits to maintain drilling precision.
- Store the bit properly: Place the bit in its designated case or holder. Organizing bits by type and size makes them easier to locate for future projects.
Tip: Always clean the drill bit before storing it. Wipe off debris or residue to prevent rust or corrosion.
Charging the battery
A well-maintained battery ensures the cordless drill operates efficiently. Proper charging practices extend the battery’s lifespan.
- Use the correct charger: Always use the charger provided by the manufacturer. Third-party chargers may not be compatible and could damage the battery.
- Monitor the charging process: Place the battery on the charger and ensure it is securely connected. Most chargers feature indicator lights to show the charging status.
- Avoid overcharging: Remove the battery once it is fully charged. Overcharging can reduce battery efficiency over time.
- Store the battery correctly: Keep the battery in a cool, dry place when not in use. Avoid exposing it to extreme temperatures, as this can affect performance.
Note: Lithium-ion batteries perform best when charged before they are completely drained. Aim to recharge the battery when it reaches 20-30% capacity.
Cleaning the workspace
A clean workspace minimizes hazards and keeps tools organized. After completing a project, take the following steps to tidy up:
- Remove debris: Sweep or vacuum the area to clear away dust, wood shavings, or other materials.
- Organize tools: Return the cordless drill, bits, and other accessories to their designated storage locations.
- Inspect the workspace: Check for leftover screws, nails, or sharp objects that could pose a safety risk.
- Dispose of waste properly: Separate recyclable materials, such as metal shavings, from general waste. Dispose of them according to local regulations.
Pro Tip: Regularly cleaning the workspace not only improves safety but also enhances productivity. A clutter-free environment makes it easier to focus on the task at hand.
By following these cleanup steps, users can maintain their cordless drill and workspace in optimal condition. This practice ensures the tool remains reliable and ready for future projects.
Tips for Optimal Cordless Drill Usage
Choosing the Right Drill Model
Features to look for in a cordless drill
Selecting the right cordless drill depends on understanding its key features. Voltage is a critical factor, as it determines the drill’s power. Lower voltage models (12V) are lightweight and suitable for light-duty tasks, while higher voltage models (20V or more) handle heavy-duty applications. Weight also plays a role in user comfort, especially during extended use. A lightweight drill reduces fatigue and improves maneuverability.
Additional features like variable speed settings, torque control, and ergonomic design enhance usability. Drills with brushless motors offer better efficiency and longer lifespans compared to brushed motors. Accessories such as extra batteries and carrying cases add convenience.
Tip: Look for drills with a warranty to ensure long-term reliability and support.
Recommended models for beginners
Beginners should consider models that balance power, weight, and ease of use. The table below highlights some top-rated cordless drills:
| Product Name | Voltage | Weight | Performance Highlights | Included Accessories |
|---|---|---|---|---|
| Makita FD07R1 | 12V | 2 lbs | Excellent power test results, rapid charging in 60 minutes | Two 2-amp-hour batteries, 3-year warranty |
| DeWalt DCD701F2 | 20V | 2.4 lbs | Good power and speed, lightweight, quiet operation | Two 2-amp-hour batteries, 3-year warranty |
| Makita GFD02D | 40V | 4.2 lbs | Top marks in drilling speed and power, fast charging, exceptional run time | Two 2.5-amp-hour batteries, 3-year warranty |
| Flex FX1171T-2B | 24V | 5.1 lbs | High performance in speed, power, run time, and charge time | Two 5-amp-hour batteries, 5-year warranty |
Pro Tip: For beginners, lightweight models like the Makita FD07R1 or DeWalt DCD701F2 provide excellent performance without overwhelming complexity.
Enhancing Battery Life
Charging practices for longevity
Proper charging habits significantly extend battery life. Avoid leaving the battery on the charger overnight, as overcharging can reduce its efficiency. Recharge the battery when it reaches 20-30% capacity instead of waiting for it to drain completely. Using the manufacturer-provided charger ensures compatibility and prevents potential damage.
Proper storage and usage tips
Storing batteries in a cool, dry place protects them from extreme temperatures, which can degrade performance. When not in use, remove the battery from the drill to prevent accidental discharge. Regularly inspect the battery for signs of wear or damage.
- Battery Health Awareness: Avoid harmful charging habits like overnight charging.
- Optimizing Usage: Manage tasks to prevent excessive battery drain.
- Battery Detection and Maintenance: Identify issues early to maintain consistent performance.
Note: Following these practices ensures the battery remains reliable and extends its lifespan.
Maintaining Your Cordless Drill
Regular cleaning and inspection
Routine maintenance keeps a cordless drill in optimal condition. Clean the drill after each use to remove dust and debris. Inspect the chuck, drill bits, and other components for wear or damage. Replace worn parts promptly to maintain performance.
- Check fluid levels, such as hydraulic oil and coolant, if applicable.
- Inspect drill bits and other components for wear and tear.
- Ensure electrical systems function correctly.
- Verify the integrity of structural elements.
| Maintenance Protocols | Benefits |
|---|---|
| Regular Inspections | Ensures early detection of issues, enhancing safety and performance. |
| Documentation of Maintenance Activities | Provides a record for evaluating equipment performance and planning future maintenance. |
| Preventive Maintenance Programs | Reduces the likelihood of unexpected breakdowns, extending equipment lifespan. |
| Cleaning Procedures | Maintains equipment in optimal condition, preventing premature wear. |
| Staff Training | Ensures personnel are knowledgeable about maintenance, improving adherence to protocols. |
Pro Tip: Regular inspections prevent unexpected breakdowns and ensure the drill operates efficiently.
Safe storage practices
Proper storage protects the drill from damage and extends its lifespan. Store the drill in a dry, dust-free environment. Use a carrying case to shield it from impacts and moisture. Keep the drill and its accessories organized to avoid misplacing components.
- Extended Equipment Lifespan: Prevents premature wear and tear.
- Enhanced Performance and Efficiency: Ensures all parts function optimally.
- Improved Safety: Reduces risks of accidents by maintaining safety features.
Tip: Label storage areas for easy identification of tools and accessories.
By following these tips, users can maximize the performance and longevity of their cordless drills. Proper care and maintenance ensure the tool remains reliable for years to come.
Safety Precautions for Cordless Drill Usage
Essential Safety Tips
Wearing protective gear
Using a cordless drill requires proper protective gear to minimize risks. Safety goggles shield the eyes from flying debris, while gloves protect the hands from sharp edges and vibrations. Ear protection is essential when working in noisy environments to prevent hearing damage. A dust mask reduces exposure to harmful particles, especially when drilling into materials like concrete or drywall.
Safety Alert: Over one million injuries occur annually due to hand and power tools, according to the Consumer Product Safety Commission (CPSC). Wearing protective gear significantly reduces the likelihood of accidents.
Ensuring a stable workspace
A stable workspace is crucial for safe operation. Loose or uneven surfaces increase the risk of the drill slipping, which can lead to injuries or damage to the material. Users should secure the material with clamps or a vice to prevent movement during drilling. The workspace should be well-lit to improve visibility and reduce errors. Keeping the area free of clutter minimizes tripping hazards and ensures tools are easily accessible.
Tip: Injuries related to hand and power tools result in $15.4 million in medical expenses and lost work annually. A stable workspace helps prevent accidents and promotes efficiency.
Avoiding Common Mistakes
Over-tightening the chuck
Over-tightening the chuck can damage the drill or the bit. Users should tighten the chuck firmly but avoid excessive force. For drills with a keyless chuck, hand-tightening is usually sufficient. Keyed chucks require a chuck key, but care should be taken not to apply too much pressure. Proper tightening ensures the bit stays secure without straining the drill’s components.
Note: A study found that 23% of tested power drills exceeded allowable vibration limits set by ISO standards. Over-tightening the chuck can amplify vibrations, leading to long-term injuries.
Using the wrong drill bit for the material
Using an incorrect drill bit can result in poor performance and damage to both the tool and the material. For example, masonry bits are designed for concrete and brick, while twist bits work best on wood and metal. Matching the drill bit to the material ensures clean and precise results. Users should also inspect the bit for wear or damage before use.
Safety Tip: Circular saws account for nearly 20% of all power tool injuries due to kickback and binding blades. Similarly, using the wrong drill bit increases the risk of accidents and material failure.
Mastering a cordless drill involves understanding its features, selecting the right settings, and following proper techniques. Safety and maintenance play a vital role in ensuring effective and long-lasting tool performance. Wearing protective gear, securing materials, and storing batteries in a dry environment enhance safety and durability. Regular cleaning and proper storage, such as using the original carrying case, prevent damage. Practicing these steps builds confidence and improves results.
Tip: Keep a backup battery charged and adjust drill settings to match the task for uninterrupted and efficient operation.
FAQ
What is the best way to choose a cordless drill for beginners?
Beginners should prioritize lightweight models with lower voltage (12V) for ease of use. Features like variable speed settings and ergonomic design enhance comfort. Models with warranties and included accessories, such as extra batteries, offer added value.
Tip: Start with trusted brands like Makita or DeWalt for reliability.
How often should a cordless drill be cleaned?
Cleaning after every use ensures optimal performance. Remove dust and debris from the chuck, drill bits, and vents. Regular inspections help identify wear or damage early, preventing costly repairs.
Note: Use a soft cloth and avoid harsh chemicals to protect the drill’s components.
Can cordless drills be used for heavy-duty tasks?
Cordless drills with higher voltage (18V-20V) and torque settings handle heavy-duty tasks effectively. Models with brushless motors provide better power and durability. For drilling into concrete or metal, use appropriate drill bits like masonry or cobalt bits.
How long does a cordless drill battery last?
Battery lifespan depends on usage and maintenance. Lithium-ion batteries typically last 3-5 years with proper care. Avoid overcharging and store batteries in cool, dry places to extend their life.
Pro Tip: Recharge batteries when they reach 20-30% capacity for optimal performance.
What safety precautions should be taken when using a cordless drill?
Wear safety goggles, gloves, and ear protection. Secure materials with clamps or a vice to prevent movement. Ensure the workspace is stable and well-lit. Avoid loose clothing or jewelry that could get caught in the drill.
Why is torque important in cordless drills?
Torque controls the rotational force applied by the drill. Lower torque suits delicate tasks, while higher torque handles dense materials. Adjusting torque prevents overdriving screws and protects the material from damage.
How can I prevent drill bits from slipping?
Ensure the chuck is tightened securely. Center the drill bit before starting. For keyless chucks, hand-tightening is sufficient. Misaligned bits increase vibrations and reduce precision.
Tip: Inspect drill bits regularly for wear or damage to maintain stability.
What is the ideal speed setting for drilling?
Lower speeds (0-500 RPM) work best for driving screws or drilling into soft materials. Higher speeds (1000-2000 RPM) suit harder materials like metal. Gradually increase speed after the drill bit penetrates the surface for clean results.
Performance Insight: Match speed settings to the material for better control and efficiency.

Very interesting subject , thankyou for putting up.
I like what you guys are up also. Such smart work and reporting! Carry on the excellent works guys I have incorporated you guys to my blogroll. I think it’ll improve the value of my website 🙂
I got what you mean , thanks for putting up.Woh I am thankful to find this website through google.
I’m really loving the theme/design of your web site. Do you ever run into any browser compatibility issues? A couple of my blog readers have complained about my website not operating correctly in Explorer but looks great in Safari. Do you have any advice to help fix this problem?
I’m glad to receive your message. However, I’m not quite sure about this. It was done by the previous website construction company. Maybe you could consult a professional person.