

Can You Do Car Spray Paint at Home? A Simple DIY Guide for Beginners 1
Many car owners wonder if they can spray paint their car at home instead of paying hundreds or even thousands of dollars at a repair shop. The short answer is: yes, you can — but only in certain situations. In this guide, I’ll explain when it’s safe and legal to do car spray paint at home, what materials you need, how much it costs, step-by-step instructions, and how to avoid getting ripped off at professional repair shops. If you’re a budget-conscious DIY car owner, keep reading — this guide is written just for you.
1. When Is It OK to Do Car Spray Paint at Home? Is It Legal?
Doing car spray paint at home is usually fine for small repairs, such as:
- Scratches on the bumper
- Minor rust spots
- Faded mirrors or door handles
- Repainting trim or plastic parts
However, you should NOT spray paint your entire car outdoors unless you have the proper setup. Why?
| Situation | Recommended? | Reason |
|---|---|---|
| Small scratch repair or bumper touch-up | ✅ Yes | Easy and low risk |
| Full car respray inside a closed garage with ventilation | ⚠️ Possible but requires experience | |
| Full car respray in open driveway or street | ❌ No | Paint fumes can annoy neighbors and might violate local rules |
Is it legal in the U.S.?
Most U.S. states allow small DIY spray paint projects at home, but there are rules about air pollution and safety:
- California and some EU countries have strict laws against spraying outdoors. You must do it inside a ventilated garage or spray booth.
- If your paint smell drifts into neighbors’ yards and they complain, you could get fined for public nuisance.
- Always wear a respirator mask — some paints contain toxic chemicals.
👉 Tip: If you keep it small and do it in a well-ventilated garage, you’re usually fine.
2. What Materials Do You Need for DIY Car Spray Paint? How Much Does It Cost?
Here’s a simple shopping list for a basic spray paint job:
| Item | Estimated Cost |
|---|---|
| Spray paint cans (primer, base coat, clear coat) | $30–$80 total |
| Sandpaper set (400–2000 grit) | $10–$15 |
| Masking tape + plastic cover | $10 |
| Respirator mask (very important!) | $20–$40 |
| Cleaning alcohol or degreaser | $5–$10 |
| Optional: Spray gun + air compressor | $100–$200 (if you want a more professional result) |
➡️ Total Cost for Small Repair: $50–$100
➡️ Total Cost for Full Car: $200–$400 (if using spray gun and multiple cans)
3. Step-by-Step: How to Spray Paint Your Car at Home
Here’s a detailed 7-step process that anyone, even beginners, can follow to achieve a professional-looking finish:
1. Clean the surface thoroughly
Before painting, wash your car carefully with soap and water to remove dirt, dust, and grime. After drying, use rubbing alcohol or a degreaser on the surface to remove grease, wax, or any residues. A completely clean surface ensures that the paint sticks well and prevents bumps or bubbles.
2. Sand the area properly
Start sanding with 400-grit sandpaper to remove old paint or rough spots. Then gradually move to finer sandpaper, 1000–2000 grit, to make the surface smooth. Sanding helps the paint adhere better and gives a professional finish. Remember to wear a mask to avoid inhaling dust.
3. Mask everything you don’t want painted
Use painter’s tape and masking paper or plastic to cover windows, lights, mirrors, wheels, and any other areas you want to protect. Carefully sealing edges prevents accidental overspray and ensures clean lines.
4. Spray primer evenly
Shake the primer can well before use. Hold it 6–8 inches away from the surface and spray in slow, even strokes, slightly overlapping each pass. Apply 2–3 light coats instead of one heavy coat. Let each coat dry for at least 15–20 minutes. Primer helps the paint stick and improves the final color.
5. Apply the base color coat
Shake the paint can thoroughly. Spray 2–3 thin coats instead of one thick coat to avoid drips or runs. Keep the can moving steadily and hold it at the same distance from the surface. Let each coat dry according to the instructions on the can (usually 15–30 minutes).
6. Spray clear coat for shine and protection
Once the base coat is fully dry, apply the clear coat. It protects your paint from scratches, UV rays, and weather damage while giving a glossy finish. Again, spray in thin, even layers and allow each layer to dry before applying the next.
7. Let the paint cure
After spraying, leave your car in a dust-free, shaded area for 24–48 hours. Avoid touching, washing, or driving it during this time. Full curing ensures durability and a smooth finish.
👉 Important Tips for Beginners:
- Never spray too close — drips and uneven texture happen easily.
- Always use thin layers rather than trying to cover in one pass.
- Work indoors or in a shaded, low-humidity environment to prevent paint from drying too fast or unevenly.
- Wear protective gloves, goggles, and a mask — safety first!
- Test spray on a piece of cardboard before painting the car to practice smooth, even strokes.
4. If You Go to a Repair Shop, How to Avoid Getting Overcharged
Not everyone wants to DIY — if you choose a professional shop, keep these tips in mind:
| What to Do | Why It Helps |
|---|---|
| Get 2–3 quotes before deciding | Some shops charge 2× more than others |
| Ask if they use water-based or solvent-based paint | Water-based is more eco-friendly but sometimes less durable |
| Check if they provide a clear coat finish | Without it, the paint will fade quickly |
| Look at their previous work or reviews | Avoid low-quality shops that rush jobs |
👉 Avoid shops that say “We’ll match the price later” — this is a common trick to trap you.
5. Conclusion: Is DIY Car Spray Paint Worth It?
If you’re fixing small scratches or parts, DIY spray paint is absolutely worth it — it’s cheap, fun, and satisfying. But for full car resprays, make sure you have the right space, safety gear, and patience — otherwise, paying a shop might be safer.
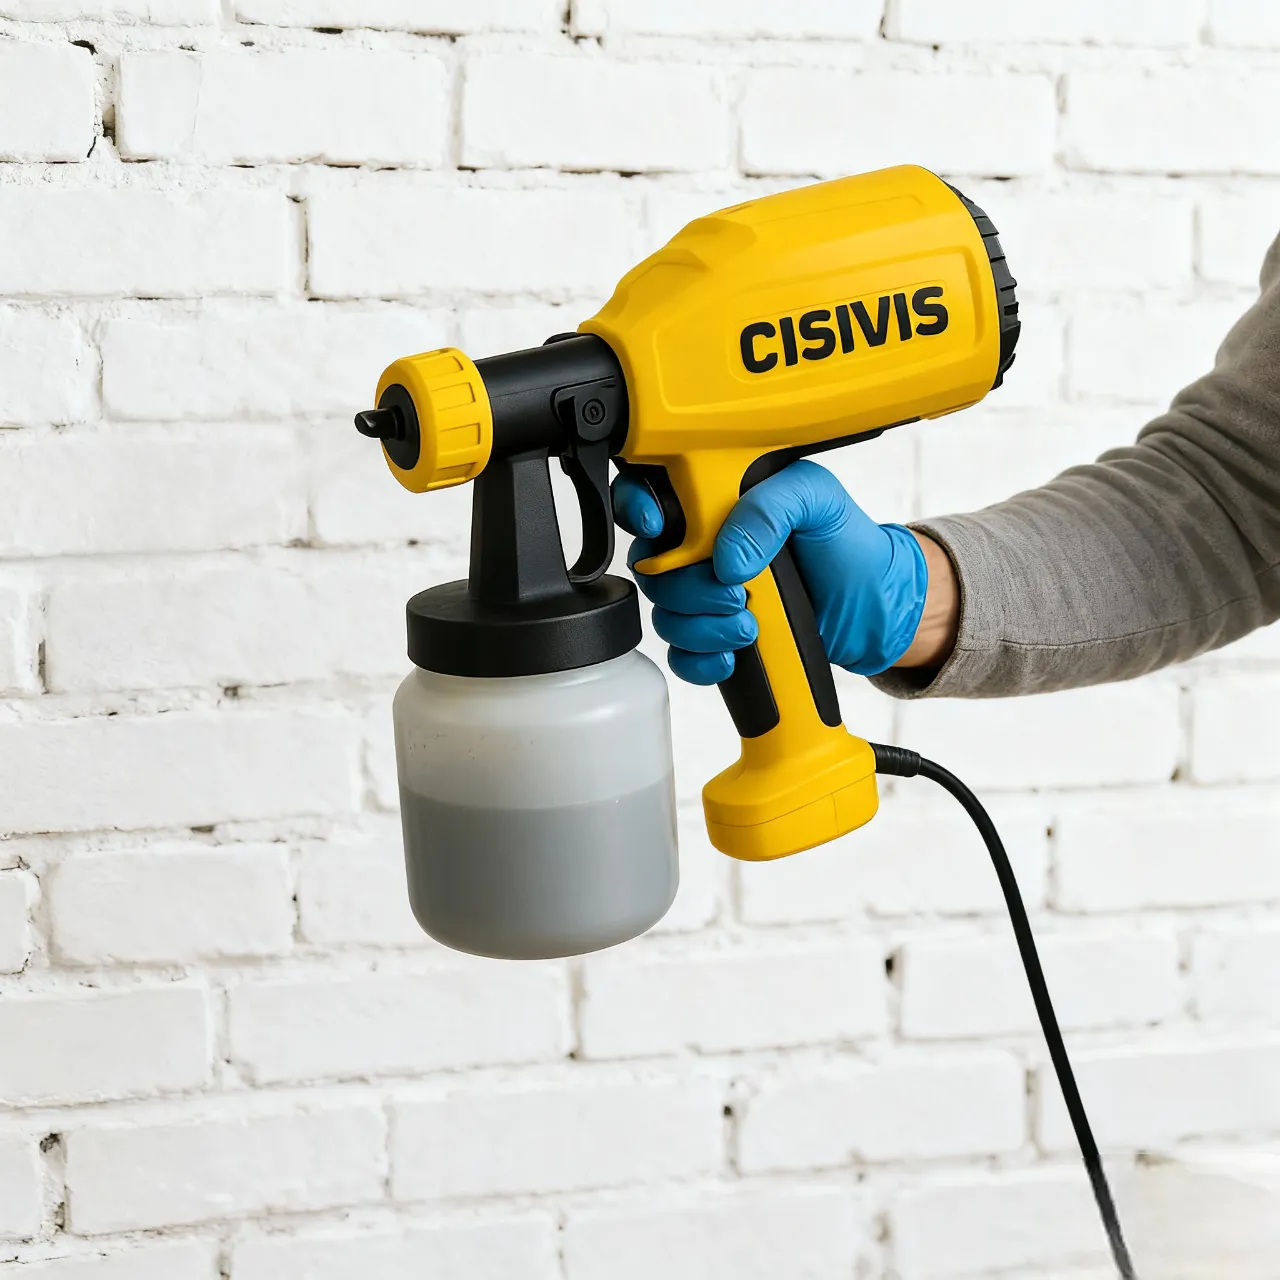
And if you need reliable spray tools, sanders, or polishing machines, Cisivis offers customizable OEM car care equipment trusted by DIY users and repair shops worldwide.

I wanted to thank you for this great read!! I definitely enjoying every little bit of it I have you bookmarked to check out new stuff you post…